Hi All,
File upload in Oracle ADF is done with af:inputFile component.
To implement file upload functionality, follow the below steps:
1. add af:inputFile component to the form.
2. set usesUpload property of the af:form element to true.
3. create binding of inputFile and its valueChangeListener in managed bean.
4. write code to implement file upload and display its content in text area as shown in below example:

standard implementation of inputfile is like
jspx code:
 <af:panelGroupLayout id="pgl1" layout="vertical">
              <af:panelGroupLayout id="pgl2" layout="horizontal">
                <af:inputFile label="Upload File" id="if1"
                              binding="#{pageFlowScope.UploadBean.inputFile}"
                              valueChangeListener="#{pageFlowScope.UploadBean.FileUploadVcListener}"
                              autoSubmit="true"/>
                <af:spacer width="10" height="10" id="s1"/>
                <af:commandButton text="Upload" id="cb1"
                                  disabled="#{pageFlowScope.UploadBean.inputFile.value == null ? true : false}"
                                  partialTriggers="if1"
                                  actionListener="#{pageFlowScope.UploadBean.onUploadFile}"/>
              </af:panelGroupLayout>
              <af:spacer width="10" height="10" id="s3"/>
              <af:panelFormLayout id="pfl1" partialTriggers="cb1">
                <af:inputText label="File Name" id="it2" columns="30"
                              readOnly="true"
                              value="#{pageFlowScope.UploadBean.fileName}"/>
                <af:inputText label="File Content" id="it1" rows="10"
                              columns="100" readOnly="true"
                              value="#{pageFlowScope.UploadBean.fileContent}"/>
              </af:panelFormLayout>
              <af:spacer width="10" height="10" id="s2"/>
            </af:panelGroupLayout>
Managed Bean Code:
import java.io.IOException;
import java.io.InputStream;
import java.io.StringWriter;
import javax.faces.event.ActionEvent;
import javax.faces.event.ValueChangeEvent;
import oracle.adf.view.rich.component.rich.input.RichInputFile;
import org.apache.commons.io.IOUtils;
import org.apache.myfaces.trinidad.model.UploadedFile;

public class UploadBean {
    private RichInputFile inputFile;
    private UploadedFile file;
    private String fileContent;
    private String fileName;
    private InputStream inputstream;

    public UploadBean() {
        super();
    }

    public void FileUploadVcListener(ValueChangeEvent valueChangeEvent) {
        resetValue();
        file = (UploadedFile)valueChangeEvent.getNewValue();
        try {
            inputstream = file.getInputStream();
        } catch (IOException e) {
            e.printStackTrace();
        }
    }

    public void onUploadFile(ActionEvent actionEvent) {
        if (file != null && inputstream != null) {
            fileName = file.getFilename();
            StringWriter writer = new StringWriter();
            try {
                IOUtils.copy(inputstream, writer);
                fileContent = writer.toString();
            } catch (IOException e) {
                e.printStackTrace();
            }
        }
        if (inputFile != null) {
            inputFile.resetValue();
            inputFile.setValid(true);
        }
    }

    public void resetValue() {
        if (fileName != null)
            fileName = null;
        if (fileContent != null)
            fileContent = null;
        if (inputstream != null)
            inputstream = null;
    }

    public void setInputFile(RichInputFile inputFile) {
        this.inputFile = inputFile;
    }

    public RichInputFile getInputFile() {
        return inputFile;
    }

    public void setFile(UploadedFile file) {
        this.file = file;
    }

    public UploadedFile getFile() {
        return file;
    }

    public String getFileContent() {
        return fileContent;
    }

    public String getFileName() {
        return fileName;
    }
}
Now if you want to have validation then you do validation for file type,file size or any other validations in ValueChangeListener. One of biggest problem is , in large applications, File will be uploaded to a temporary location and if the ere is large user then huge sizes of files will be stored in server location. That can create issue.Because ADF Faces will temporarily store incoming files (either on disk or in memory), by default it limits the size of acceptable incoming requests to avoid denial-of-service attacks that might attempt to fill a hard drive or flood memory with uploaded files. By default, only the first 100 kilobytes in any one request will be stored in memory. Once that has been filled, disk space will be used. Again, by default, that is limited to 2,000 kilobytes of disk storage for any one request for all files combined. Once these limits are exceeded, the filter will throw an EOFException . Files are, by default, stored in the temporary directory used by java.io.File.createTempFile() , which is usually defined by the system property java.io.tmpdir . Obviously, this will be insufficient for some applications, so you can configure these values using three servlet context initialization parameters:
  <context-param>
    <!-- Maximum memory per request (in bytes) -->
    <param-name>oracle.adf.view.faces.UPLOAD_MAX_MEMORY</param-name>
    <!-- Use 500K -->
    <param-value>512000</param-value>
  </context-param>
  <context-param>
    <!-- Maximum disk space per request (in bytes) -->
    <param-name>oracle.adf.view.faces.UPLOAD_MAX_DISK_SPACE</param-name>
    <!-- Use 5,000K -->
    <param-value>5120000</param-value>
  </context-param>
  <context-param>
    <!-- directory to store temporary files -->
    <param-name>oracle.adf.view.faces.UPLOAD_TEMP_DIR</param-name>
    <!-- Use an ADFUploads subdirectory of /tmp -->
    <param-value>/tmp/ADFUploads/</param-value>
  </context-param>

  <!-- This filter is always required by ADF;  one of its functions is
          file upload. -->
  <filter>
    <filter-name>adfFaces</filter-name>
    <filter-class>oracle.adf.view.faces.webapp.AdfFacesFilter</filter-class>
  </filter>
. Ideally, we should have client side validations , which will ignore all irrelevant files.
So if you use this component, you should delete your file after cancel upload process or after persist the file from temporary locations.
So today, we will discuss another approach for bypassing this scenario. We will use one jquery plugin to have client side validation for size, extension etc.
I will be using this jquery plugin , There are many, you can choose anyone.
Lets look at implementation now
This will be my jspx page
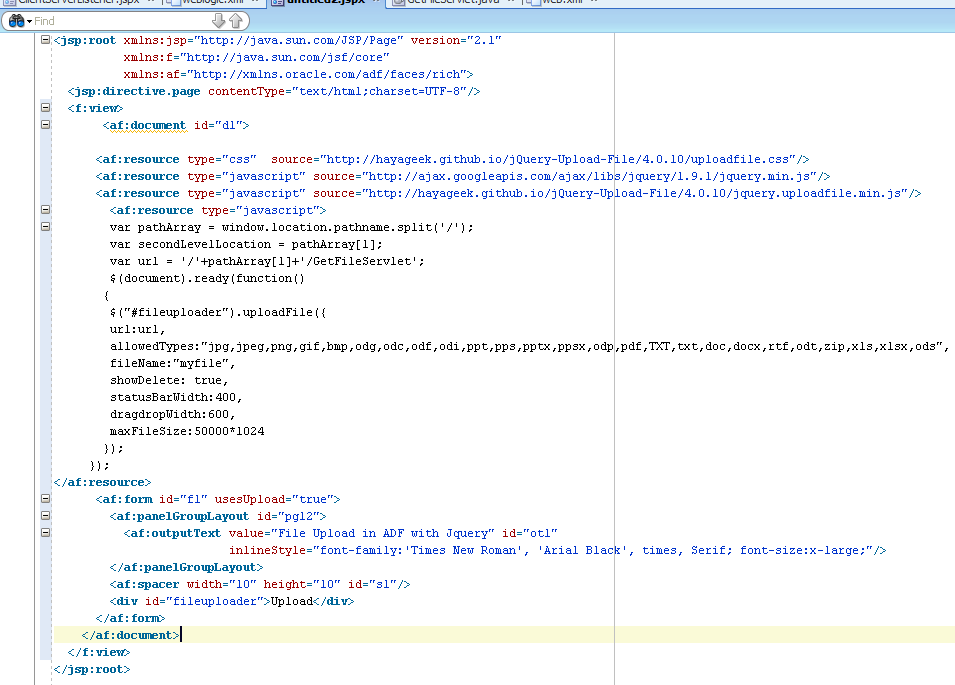
First thing, you need to include css and JS file as below
 <af:resource type="css"  source="http://hayageek.github.io/jQuery-Upload-File/4.0.10/uploadfile.css"/>
 <af:resource type="javascript" source="http://ajax.googleapis.com/ajax/libs/jquery/1.9.1/jquery.min.js"/>
 <af:resource type="javascript" source="http://hayageek.github.io/jQuery-Upload-File/4.0.10/jquery.uploadfile.min.js"/>
And you need to write js in your page as below
   <af:resource type="javascript">
        var pathArray = window.location.pathname.split('/');
        var secondLevelLocation = pathArray[1];
        var url = '/'+pathArray[1]+'/GetFileServlet';  // this will give you post method call to this url
        $(document).ready(function()     // standard jquery ready function
       {
        $("#fileuploader").uploadFile({
        url:url,
        allowedTypes:"jpg,bmp,ppt,pps,pptx,pdf,TXT,txt,doc,docx,rtf,odt,zip,xls,xlsx", // you can define allowed extension type.
        fileName:"myfile",
        showDelete: true,   // if you want to show delete icon for each uploaded file
        statusBarWidth:400,
        dragdropWidth:600,
        maxFileSize:50000*1024   // add maximum upload size for file.
       });
     });
</af:resource>
We will add div as below
<div id="fileuploader">Upload</div>
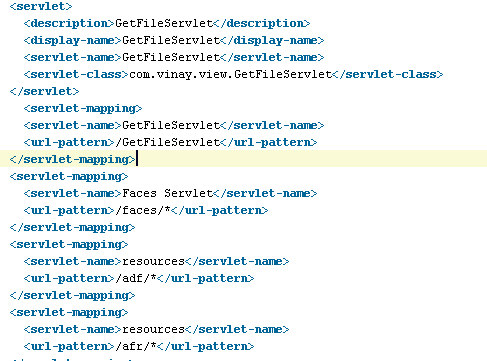
When you upload then call will go to GetFileServlet , which is mapped in web.xml .
I am also using Apache common file upload to handle multitype request.
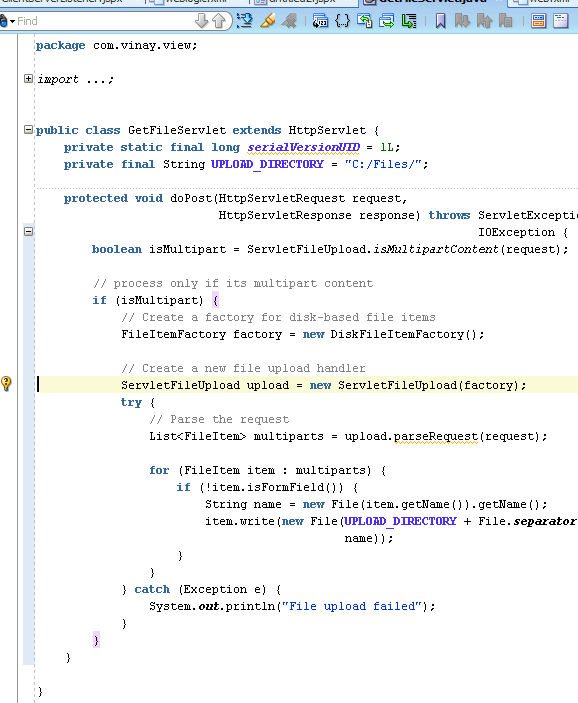
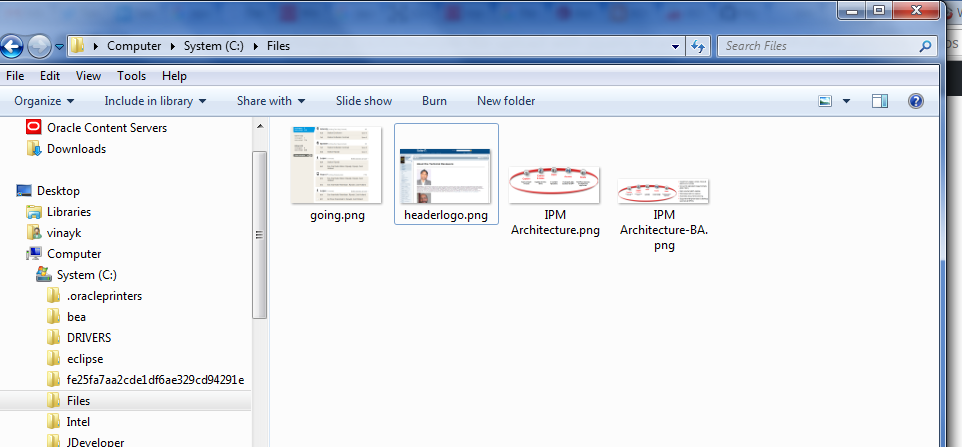
You can store these document in db, webcenter content using RIDC. for sample purpose, I am storing these documents in file store
in C drive.
You also need to define mapping of servlet in web.xml as below
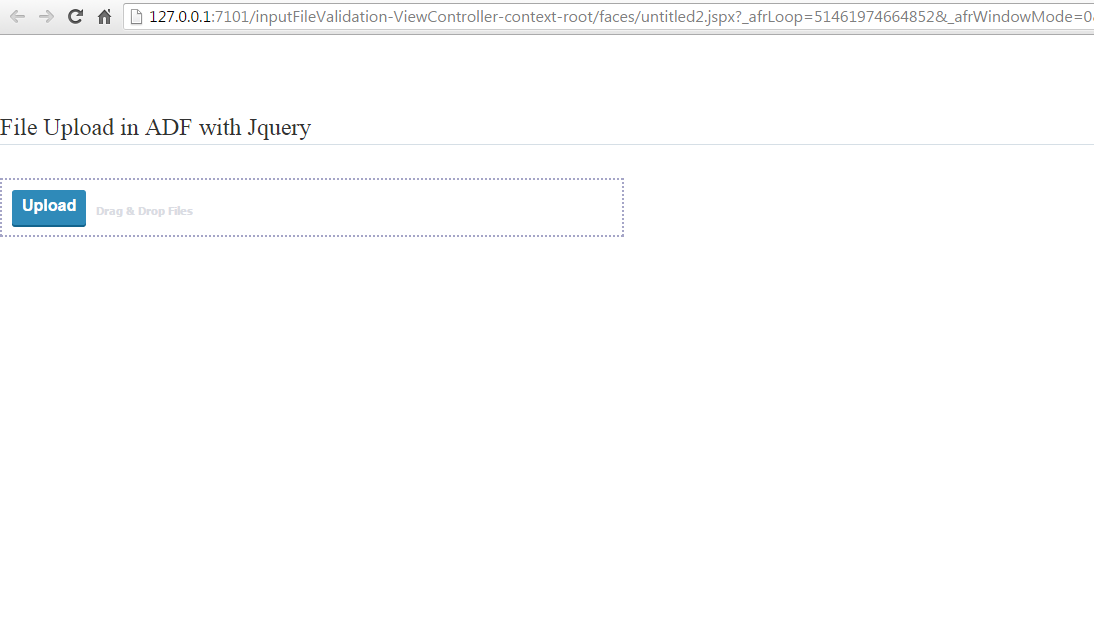
Now run the application.
Output
Now select some files and upload
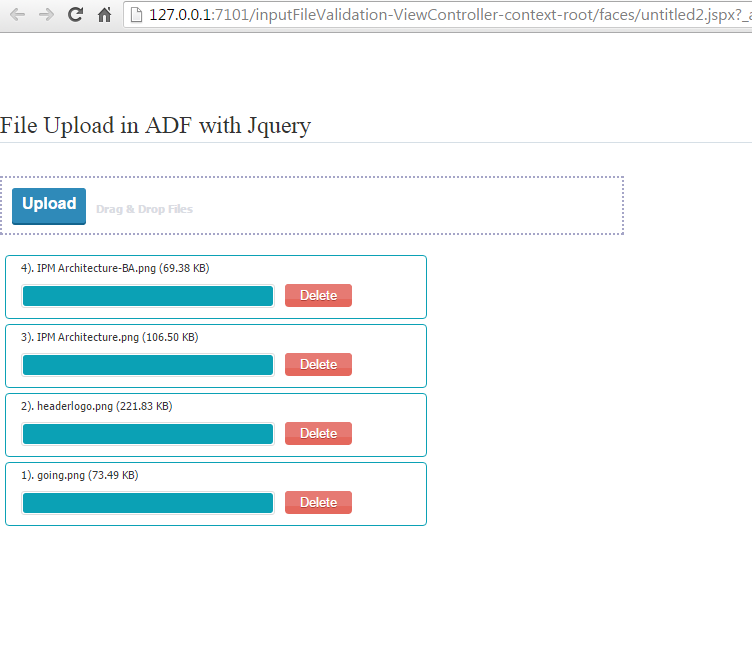
great. File uploaded to system.
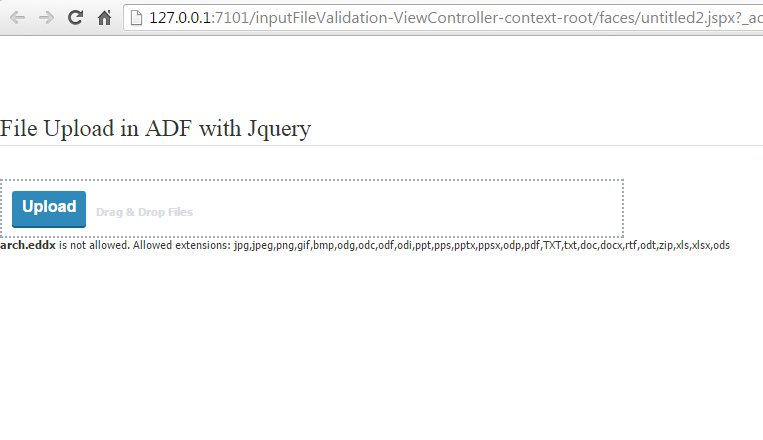
now upload some invalid file,I tried file with eddx extension and you will get validation happened on client side.
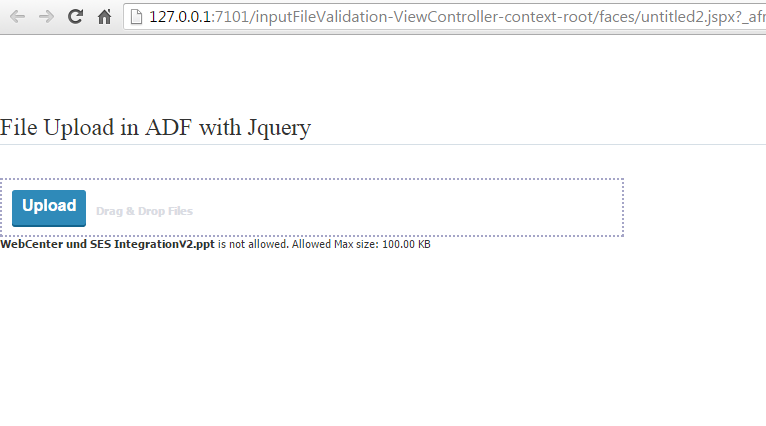
Now try uploaded with large file. I reduce the size limit
Storing file is file system is just for demo. You should store these files in webcenter content using RIDC.
So it is very simple and easy to use and give lot of freedom to use following features.
jQuery File upload plugin has the following features.
Single File Upload
Multiple file Upload (Drag & Drop)
Sequential file upload
File Restrictions
Localization (Multi-language)
Sending Form Data
Adding HTML elements to progressbar
Custom UI
Upload Events
Delete / Download Uploaded files
Image Preview
Show previous uploads
Well that all. Happy uploading in ADF/webcenter.
