Performance Analysis of a Portal application or any application look tedious and tricky task .Reason portal application consist of various other task flow from different resources.Talking for webcenter portal 11.1.1.8 portal application have awesome feature of performance analysis called Portal Page Performance Analyzer. With WebCenter Portal 11.1.1.8 however, this process becomes extremely simple and efficient.
The portal page analyzer offers a simple way to diagnose slow pages and requires minimal set up or configuration. When this feature is on, the time spent on “high level” page components is calculated and displayed so you can see at a glance which components are slowing down your page. The overall time spent on the page also displays at the top left of the page
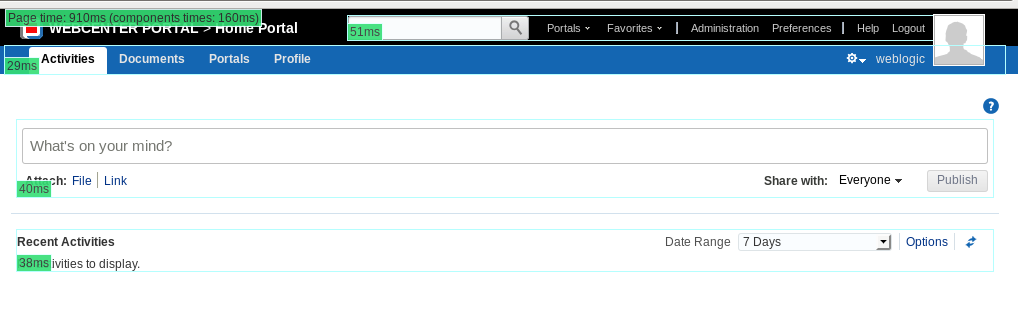
In WebCenter Portal, “high level” page components are wrapped in a ShowDetailFrame so they can be moved, hidden or shown on the page, and edited by Oracle Composer and it is the overall timing for each ShowDetailFrame that displays.Since ShowDetailFrames enclose task flow regions on a page, this feature lets you instrument WebCenter pages on the basis of individual task flows. When enabled, you can visually analyze the performance of every single task flow on the page like this.
This feature is default by default.User have to turn on this feature.
How to enable/turn on this feature – -You can do by MDS customization.you need to update the metadata in webcenter-config.xml using WLST command of exportMetaData/importMetadata.
Steps
-> exportMetadata(application=’webcenter’, server=’WC_Spaces’, toLocation=’/tmp/mydata’, docs=’/oracle/webcenter/webcenterapp/metadata/webcenter-config.xml’)
-> Open webcenter-config.xml exported from MDS in a text editor and set the perfdebug-enabled attribute to true to enable or false to disable this feature.
For example:
<webcenter:perfdebug-enabled>true</webcenter:perfdebug-enabled>
-> Save and close webcenter-config.xml.
-> Import the updated webcenter-config.xml file to MDS.
-> importMetadata(application=’webcenter’, server=’WC_Spaces’, fromLocation=’/tmp/mydata’, docs=’/oracle/webcenter/webcenterapp/metadata/webcenter-config.xml’)
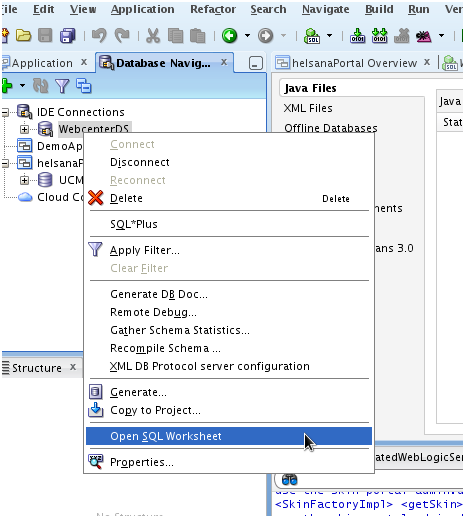
See how to run/excute exportMetaData/importMetadata command or update metadata in webcenter-config.xml
After this- any page in WebCenter Portal 11.1.1.8 can be tested. To test a page, simply append ‘perfDebug=on’ to the end of the URL to the page.

Now you can get information, which task flow, or slow page which create problem.Enter the task flow and page and kill the problem . 😛
Note – The one condition for this method to work, in the Task Flow binding properties, the Task Flow activation should be set to deferred (which is the default in 11.1.1.8).
Hiding Page Timing Information for Your Current Session– set &perfDebug=off in end of url.
Stop displaying page performance information – &perfDebug=off
Happy performance analysis with Vinay Kumar in techartifact….
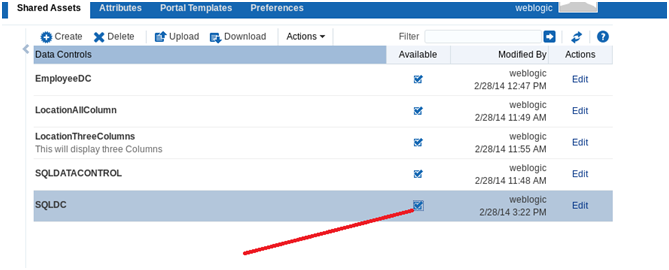
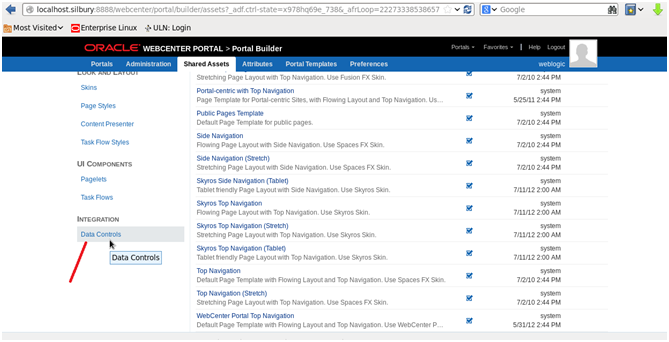
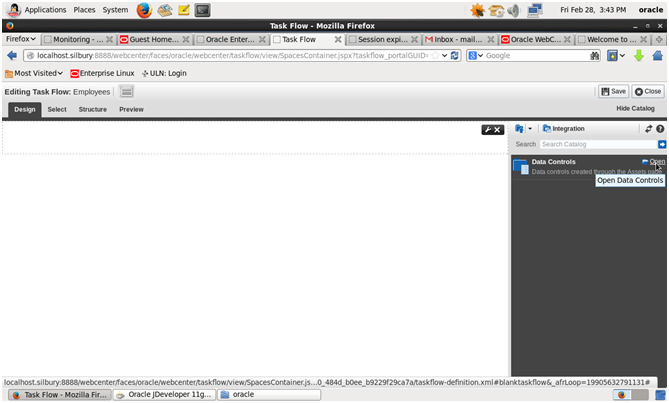
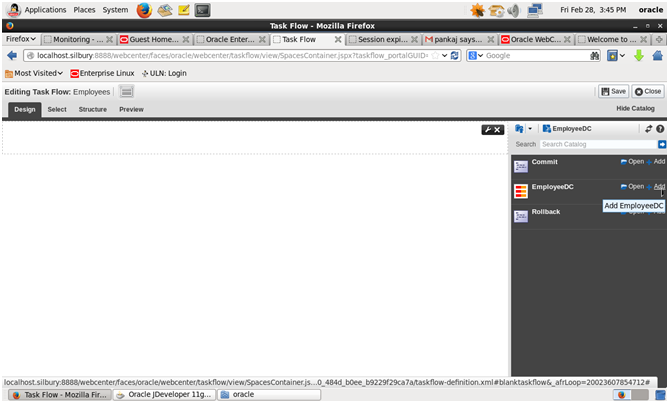
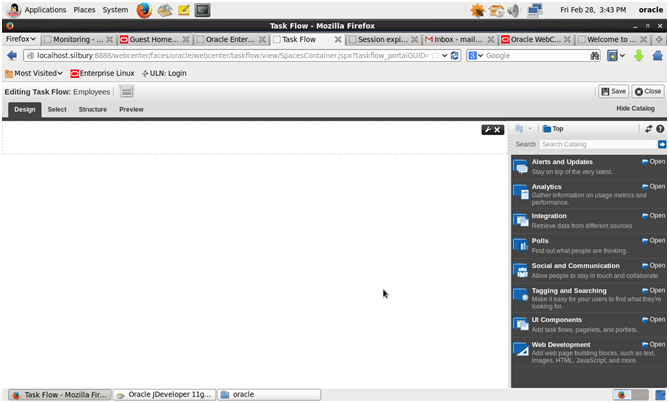
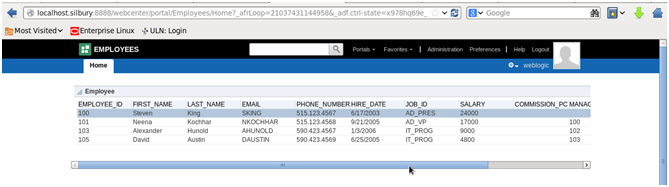
 → Make task flow available
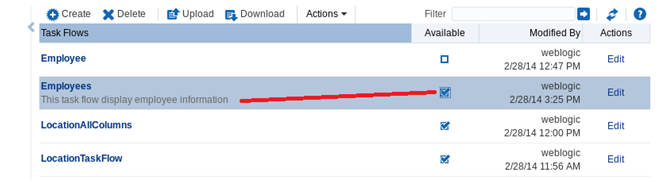


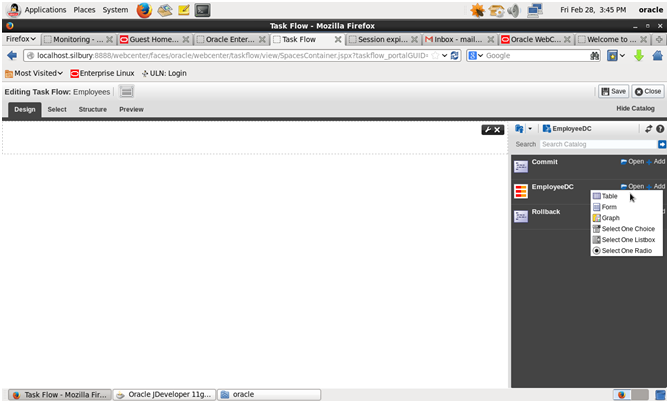
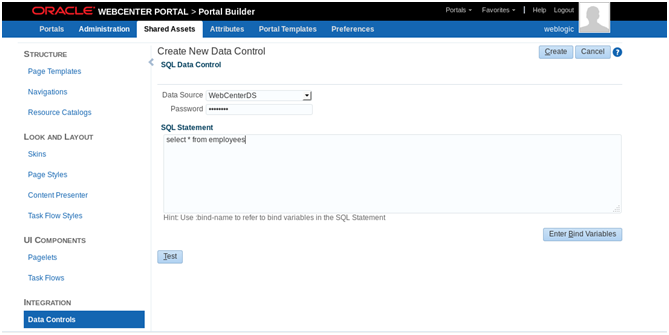
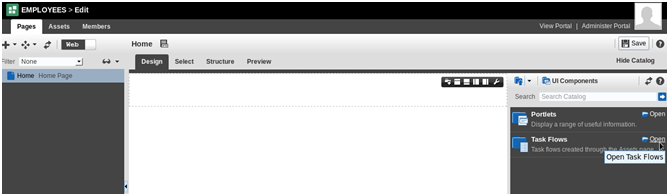
 ->Click Create
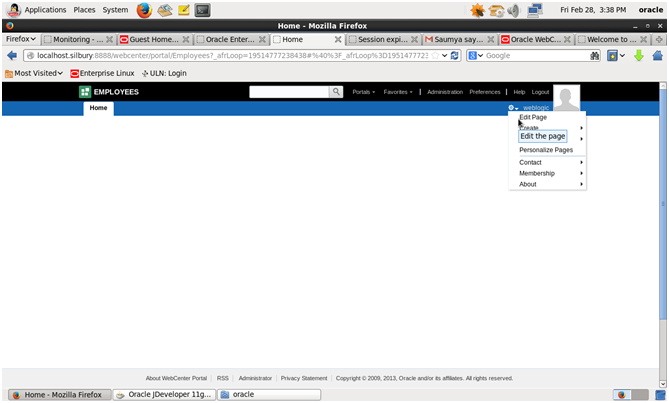
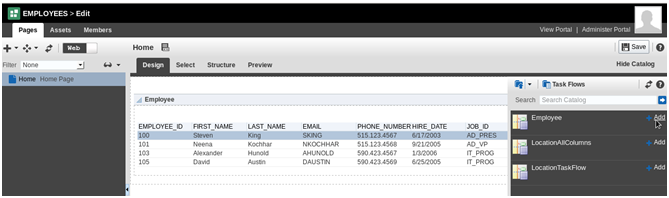
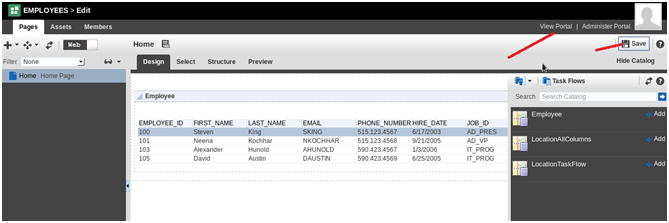
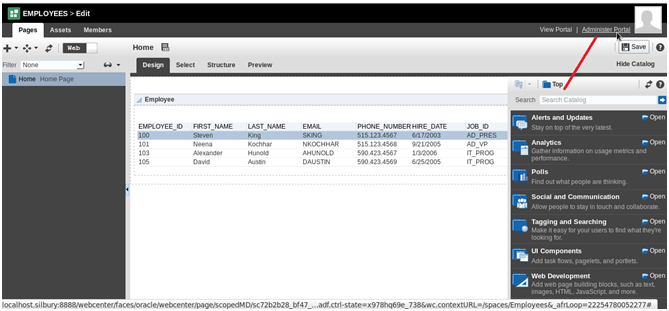
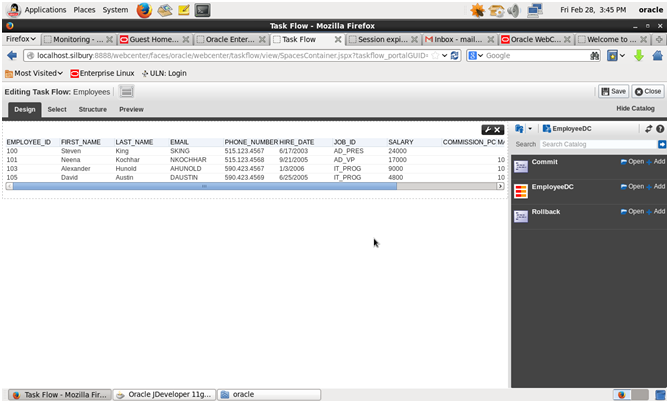
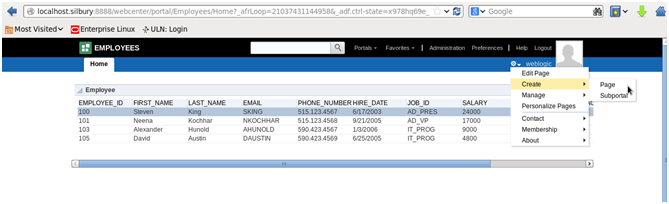 → If you want to navigate back to Data control or change query or add new task flow -click on edit page then Administer Portal