skinning of af|panelTabbed in Oracle ADF

With chain of article of ADF skinning i.e. skinning of af:panelBox in Oracle ADF and !important CSS Declarations: How and when to use in ADF Skin. Today i will talk about skinning of panelTabbed

Requirement – To do skinning of panelTabbed in ADF.

Solution- For this, you have to understand this component .Header section contains three part
-> tab-start
-> tab-content
-> tab-end
try below code in your skin file and you can skin your panelTabbed . I am pasting below code for your skin file and explain what all this code is doing

/*it will be applied on header of tab*/
af|panelTabbed::header
{
  background-color:  transparent;
  border: none;
  
}

/*it will be applied on selected header of tab*/
af|panelTabbed::header:selected
{
  background-color:#233977 ; 
  color: White;
   border: none ;
   border-color:transparent ;
  
}

af|panelTabbed::tab-start, af|panelTabbed::tab-end,  af|panelTabbed::tab:hover af|panelTabbed::tab-start, af|panelTabbed::tab:hover af|panelTabbed::tab-end  {
    background-image:none !important;
   background-color:#233977  !important;
   color:#233977  !important;
   border: none ;
   border-color:transparent; 
}


af|panelTabbed::tab:selected af|panelTabbed::tab-content, af|panelTabbed::tab:selected:hover af|panelTabbed::tab-content {
  background-color:#233977 ;
  color:White;
  background: none;
   border: none ;
   border-color:transparent; 

}
af|panelTabbed::tab:hover af|panelTabbed::tab-content {
     background-color: #C3E0F2; ;
     background: none ;

}

/*it will be applied on text in tab of panelTabbed */
af|panelTabbed::tab af|panelTabbed::tab-text-link {
    font-size:14px;
    font-weight:bold;
    color:#233977 ;
    line-height:16px;
} 

/*it will be applied on text in selected tab of panelTabbed */
af|panelTabbed::tab:selected af|panelTabbed::tab-text-link {
    color:White;
    border: none;
    font-size:14px;
    font-weight:bold;
    line-height:16px;
}


af|panelTabbed::tab.p_AFSelected af|panelTabbed::tab-content, af|panelTabbed::tab.p_AFSelected:hover af|panelTabbed::tab-content
{
background-color: #233977 ; background-image:none;
color: White;
border: none;
}


af|panelTabbed::tab.p_AFSelected af|panelTabbed::tab-end, af|panelTabbed::tab.p_AFSelected:hover af|panelTabbed::tab-end
{
background-color: transparent; 
 background-image:none;
}


af|panelTabbed::tab:selected af|panelTabbed::tab-content{
  border: none;
}
af|panelTabbed::body {
    background-color: #233977 ; 
    color: White; 
    border: thick ;
}


Final output is like below picture

Image 1

happy learning with Vinay in Techartifact…

Create centeric page using ADF Faces

Requirement- To create center page using ADF faces.
Implementation – Well you can also achieve using decorative box and panelStrechtLayout.I am going to show, how you can create centered page using af:panelGroupLayout and af:panelStretchLayout.

Use af:panelStretchLayout -center facet->PanelGroupLayout (Halign as center).You can give size in px or % in top and bottom facet of af:panelStretchLayout

ADF developers are not good in html and css.Atleast not me.Now we should dig in more what is halign and valign.You must have seen this property in panelgroupLayout as below

22

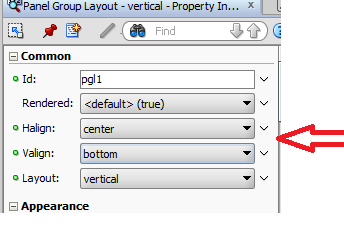
HALIGN -> sets the horizontal alignment of the cells.

VALIGN -> sets the vertical alignment of the cells.

Below picture will make more clear

eee

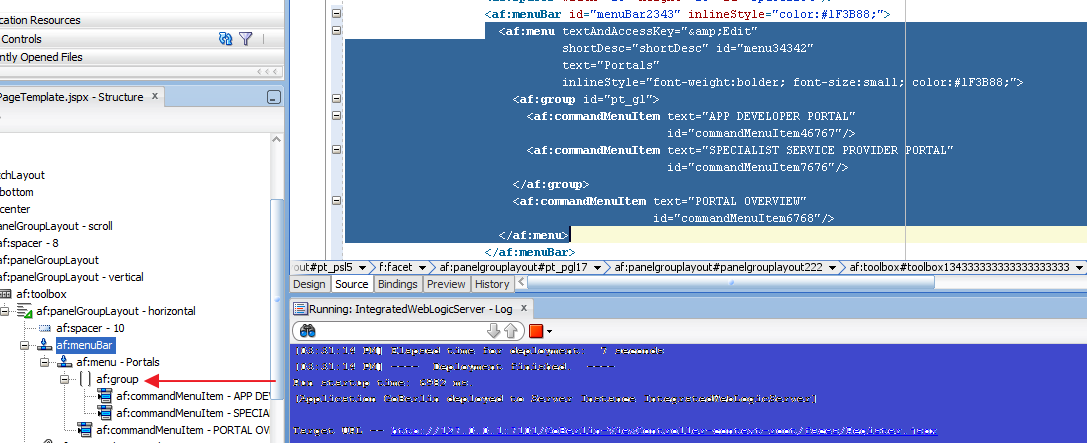
Source of the page can be

<?xml version='1.0' encoding='UTF-8'?>
<jsp:root xmlns:jsp="http://java.sun.com/JSP/Page" version="2.1"
          xmlns:f="http://java.sun.com/jsf/core"
          xmlns:h="http://java.sun.com/jsf/html"
          xmlns:af="http://xmlns.oracle.com/adf/faces/rich">
  <jsp:directive.page contentType="text/html;charset=UTF-8"/>
  <f:view>
    <af:document id="d1">
      <af:form id="f1">
        <af:panelStretchLayout id="psl1" topHeight="33%" bottomHeight="22%"
                               startWidth="5%" endWidth="5%">
          <f:facet name="bottom"/>
          <f:facet name="center">
          
            <af:panelGroupLayout id="pgl1" layout="vertical" halign="center"
                                 valign="middle">
              <af:panelFormLayout id="pfl1" rows="6" maxColumns="1">
                <f:facet name="footer"/>
                <af:inputText label="Name" id="it1"/>
                <af:inputText label="Last Name" id="it4"/>
                <af:inputText label="Email" id="it5"/>
                <af:inputText label="Phone" id="it3"/>
                <af:inputText label="Blog" id="it2"/>
                <af:commandButton text="Submit" id="cb1"/>
              </af:panelFormLayout>
              
            </af:panelGroupLayout>
          </f:facet>
          <f:facet name="start"/>
          <f:facet name="end"/>
          <f:facet name="top">
            <af:panelGroupLayout id="pgl2"/>
          </f:facet>
        </af:panelStretchLayout>
      </af:form>
    </af:document>
  </f:view>
</jsp:root>


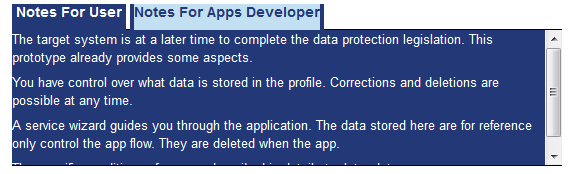
When you run the page ,you will something like this-

fffff

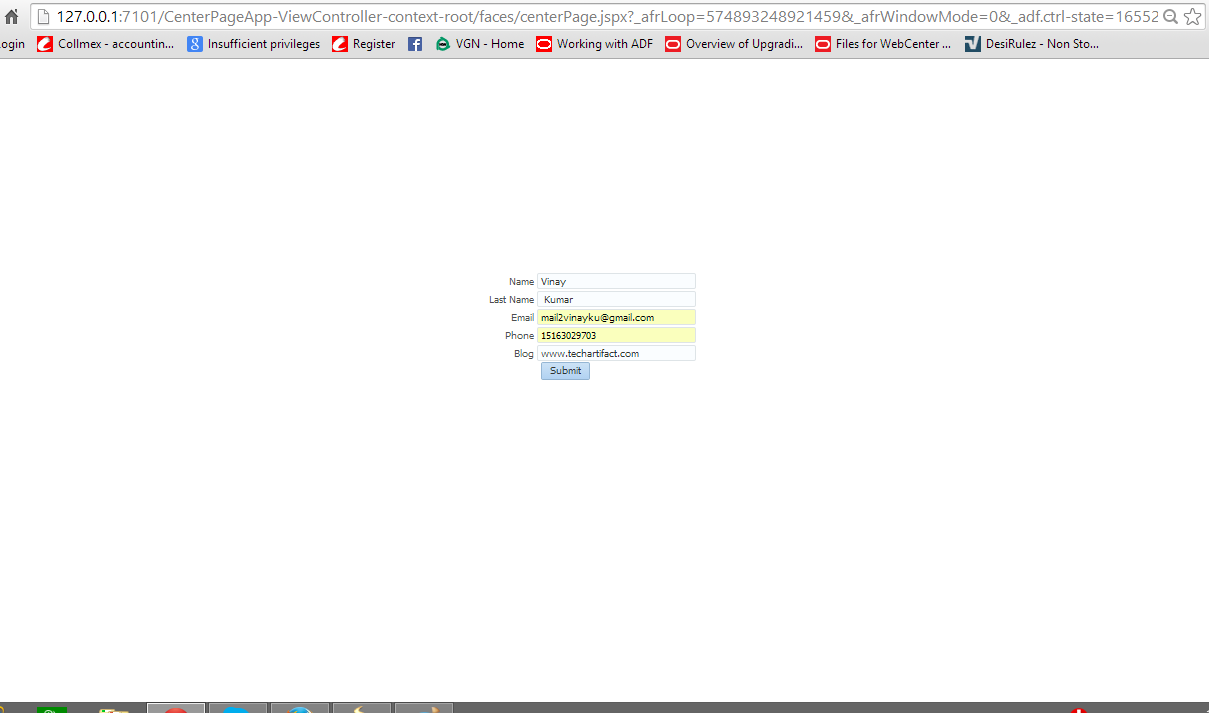
happy learning with Vinay in techartifact…