Prerequisite – Webcenter portal and Webcenter Spaces should be installed and there schemas as well.
Database should be installed in database. For this sample demo –I created sample tables in Webcenter schema .
You can connect to database using creating new connection
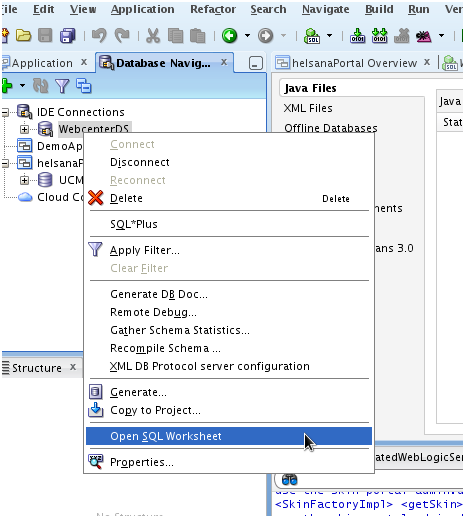
→ Please find attached script and execute in the database.
→ Open the link – http://localhost.silbury:8888/webcenter (Might be localhost for you)
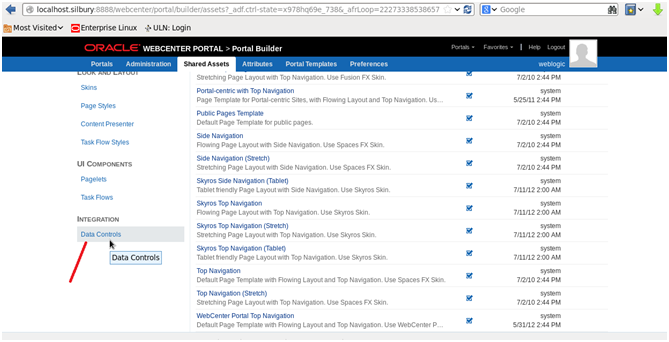
→ Go to Shared Asset
→ Go to Data Control – Create
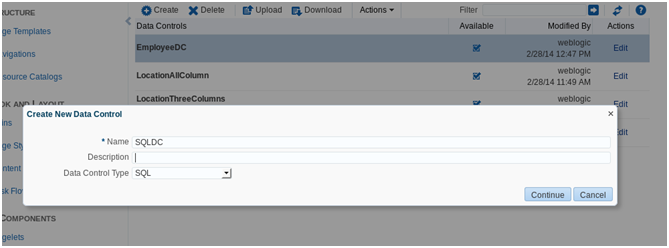
→ Click continue.
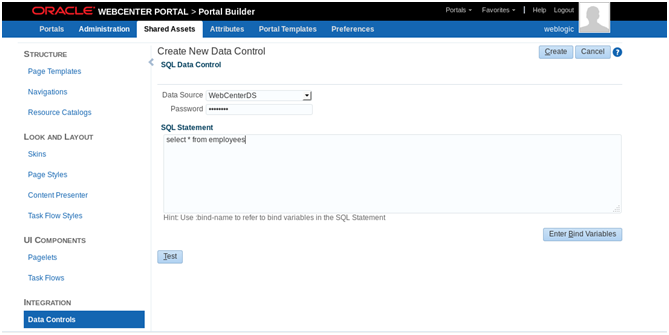
→ Select WebCenterDs – enter password- enter sql query as below in screenshot
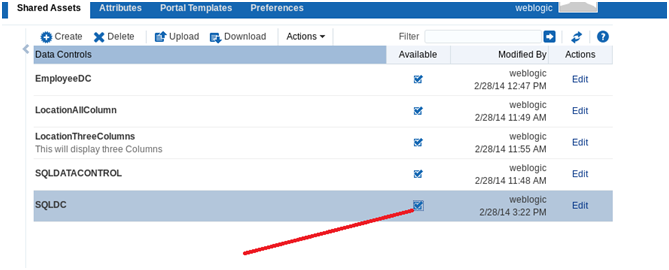
→ Click Create.And make available for using in catalog .
→ Now Click on Taskflow -Create
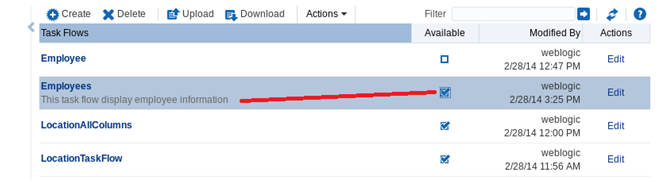
 → Make task flow available
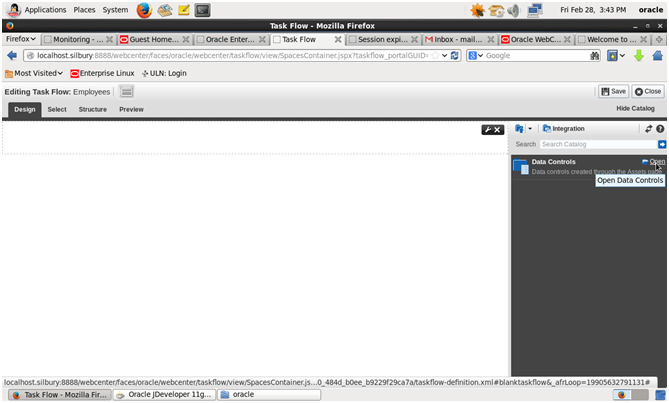
→ Click on Edit and Integration

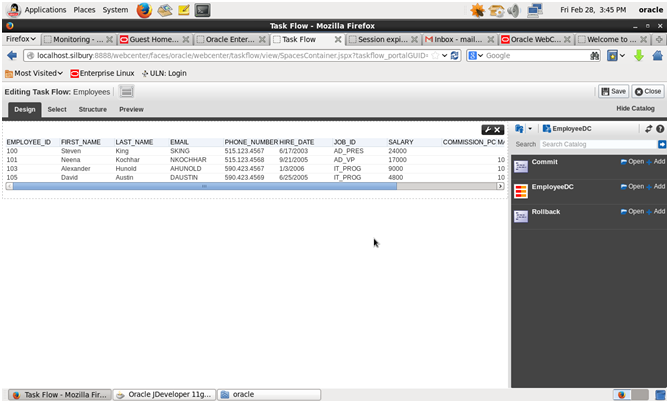
→ Click open Data Control
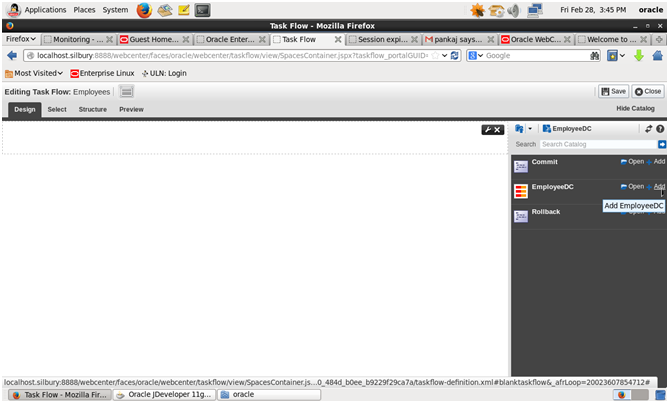
→ Click Open EmployeeDC

→ Add Employee DC
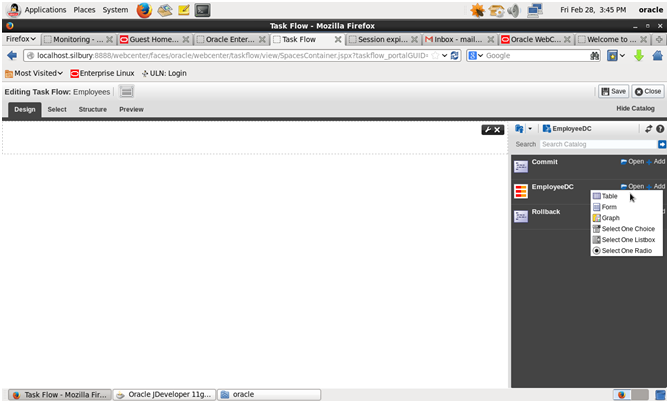
→ Click On as Table
→ Click on default next and then create. Table will be there in Taskflow. Click Save then Close.
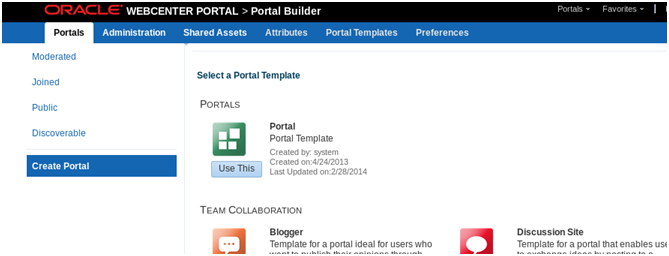
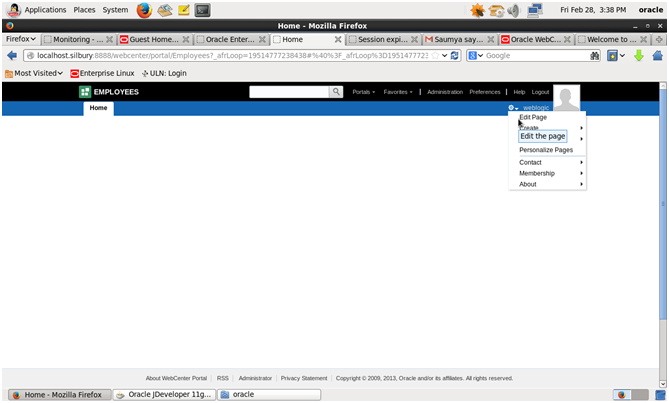
→. Now click on Portals on top Menu -< Create Portal
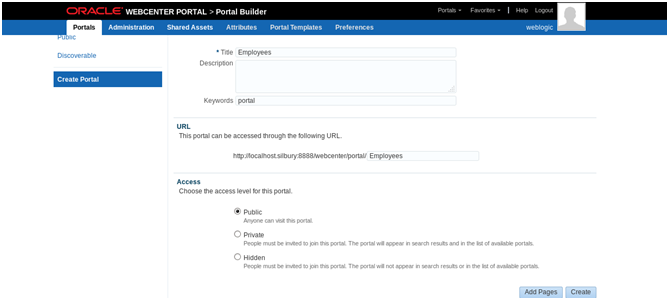 ->Click Create
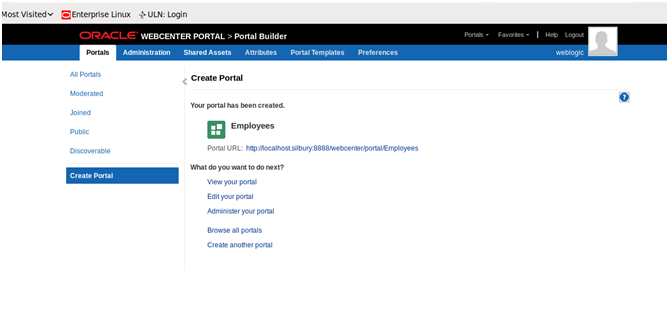
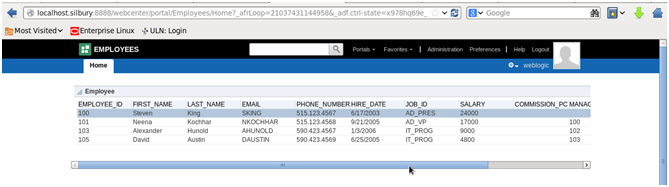
→ Click View your portal
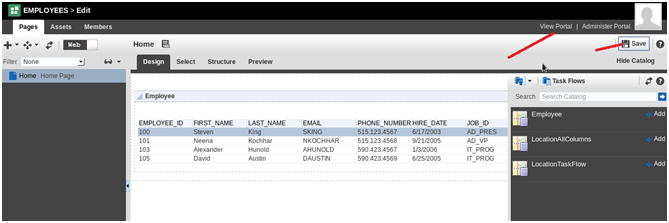
→ Edit you page as below to add content
→ Click Open on UI components
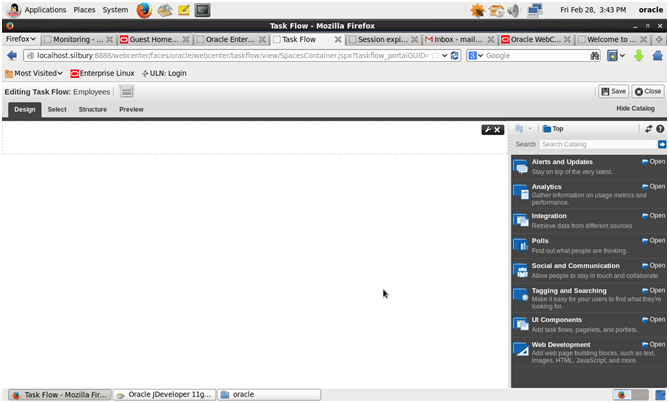
→ Click Open On task Flows
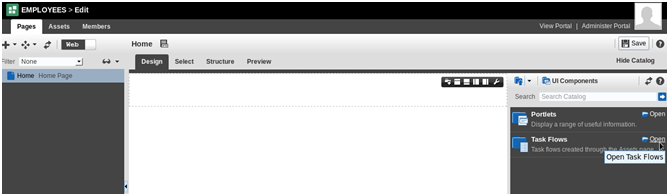
→ Add Employees and save.
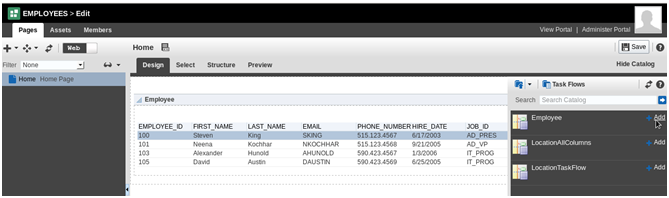
→ Click Save and then click on View Portal
→ This is final portal
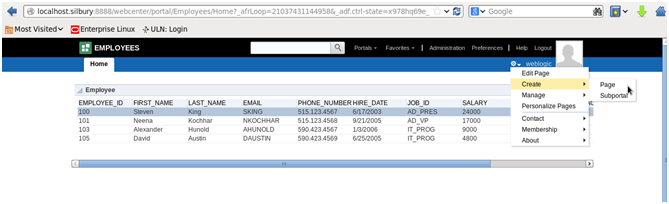
→ Can Create more page like this.
 → If you want to navigate back to Data control or change query or add new task flow -click on edit page then Administer Portal
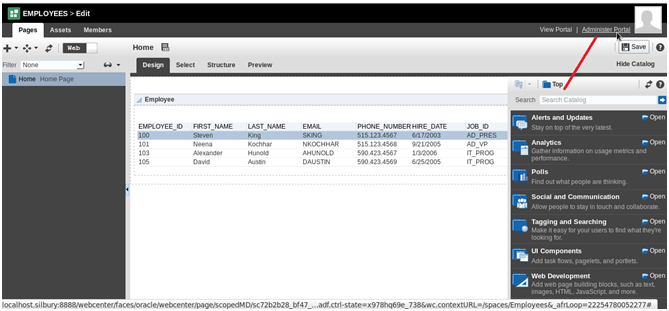
→ There you can edit data control and task flows.
Watch Video here
Happy learning with Vinay Kumar