Custom session timeout warning popup in Webcenter portal 11.1.1.8 using jquery

Hi All,

Requirement – To show customised session time out warning popup in webcenter portal builder.

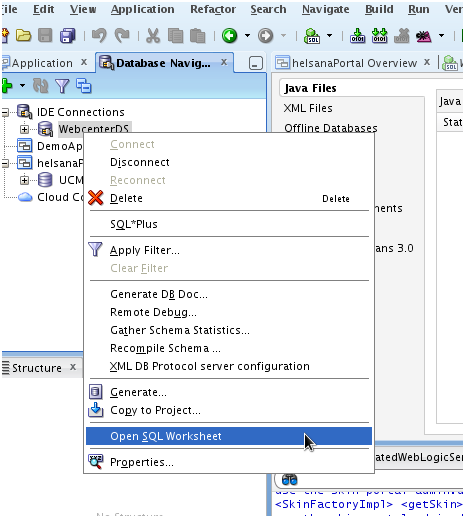
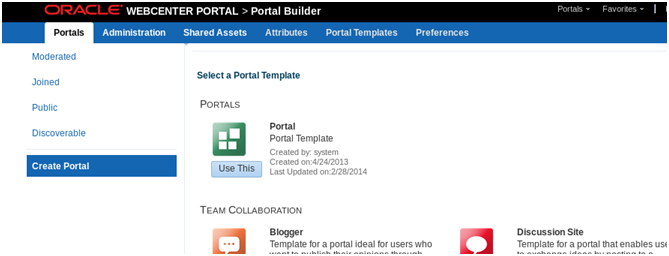
Solution- Edit your template-

editpagetemplate

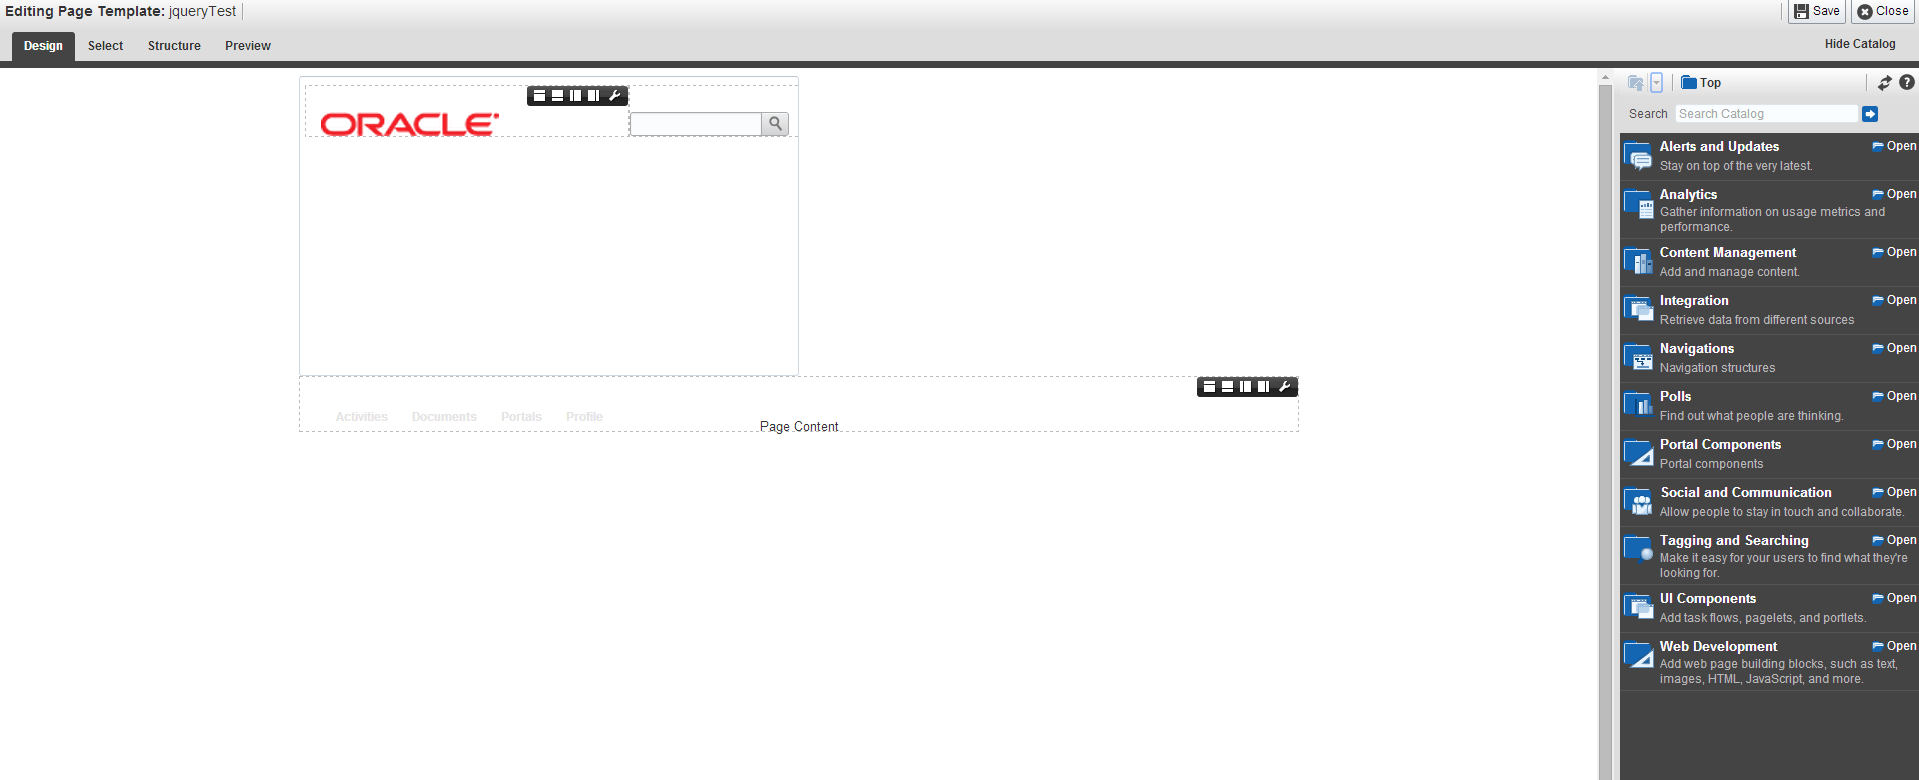
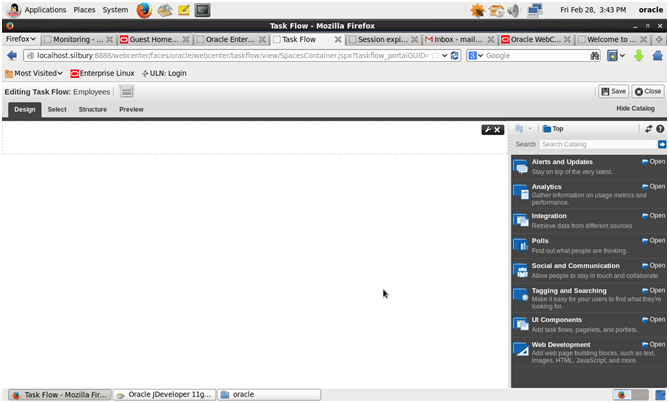
In the composer, open web development and add an html markup anywhere in the template.
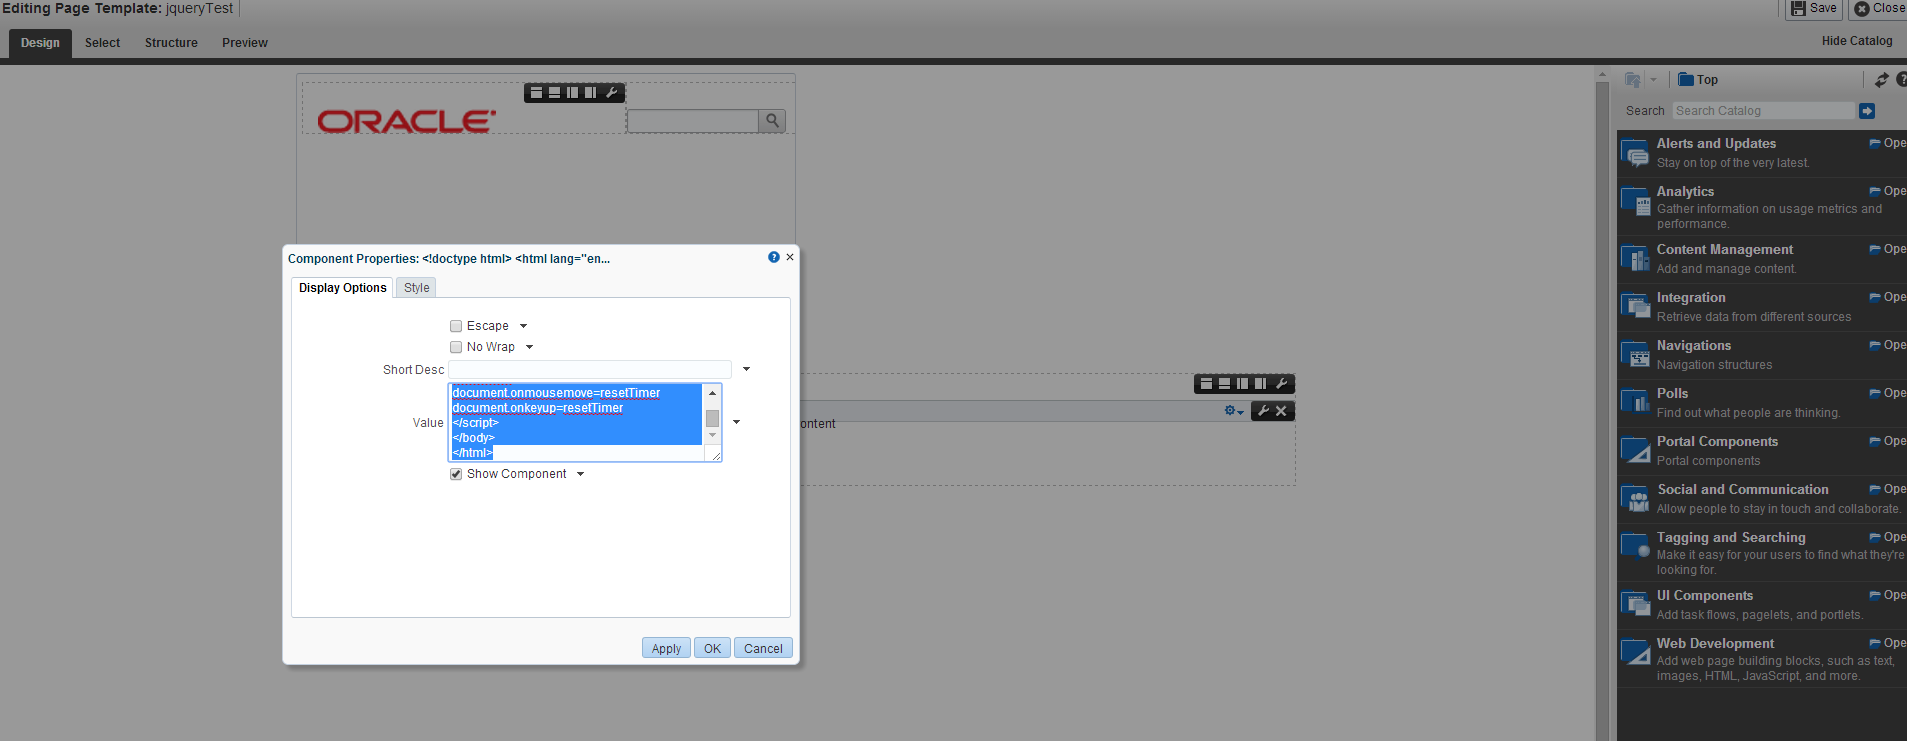
Edit that markup and add below code as the value.

Below snippet uses normal javascript.

<!doctype html>
<html lang="en">
<head>
<meta charset="utf-8">
<title>Dialog Box Witout Close Button</title>


</head>
<body>
<div id="dialog"  title="Dialog Title"></div>
<script>
var resetTime_int;
function resetTimer(){
    if(resetTime_int) window.clearTimeout(resetTime_int)
    resetTime_int=window.setTimeout(function (){
    if(document.getElementById('dialog').innerHTML = 'You have ' + (timeoutCount * 3000)/1000 + 'seconds until timeout' ;)     
    location.reload()
    }, 1000*60*2)
}

resetTimer()
document.onmousemove=resetTimer
document.onkeyup=resetTimer
</script>
</body>
</html>

html

Following snippet with Jquery

<!doctype html>
<html lang="en">
<head>
<meta charset="utf-8">
<title>Dialog Box Witout Close Button</title>
<link rel="stylesheet" href="http://code.jquery.com/ui/1.10.1/themes/base/jquery-ui.css">
<script src="http://code.jquery.com/jquery-1.9.1.js"></script>
<script src="http://code.jquery.com/ui/1.10.1/jquery-ui.js"></script>

</head>
<body>
</head>
<body>
<div id="dialog" style="display:none;" title="Dialog Title"></div>
<script>
var lefttime=3;
var interval;
interval = setInterval('change()',60000);


function change()
{
   lefttime--;
   if(lefttime<=2) {
$( "#dialog" ).dialog( "open" );
return false;

}
}
$("#dialog").dialog({
autoOpen: false,
position: 'center' ,
title: 'session',
draggable: false,
width : 400,
height : 200,
resizable : true,
modal : true,
});

JS

With jquery you can make it more beautiful with these dialog options.

Thats it. You can change the time to show popup for idle user.

Happy learning with Vinay in techartifact

Uploading static file (image) in webcenter portal for template

Requirement – I have seen many people asking in OTN forum regarding, how to upload with page template or with skin in webcenter. Today sharing with you all.

In wcp 11.1.1.8 normally you don’t have check box to upload content directory with images, javascript or some static file in portal. If you export some asset in WCP from jdeveloper,
Normally template is uploaded but not image.I will take an example of images in this. I created an custom template with some image for mobile.I want to upload back in WCP using round trip
development.

Normally in old wcp version in shared folder , we have all static files or images.Oracle says about this

Legacy directory in MDS for images and content used by assets, such as, icons, images, and so on.Oracle recommends that you relocate all such artifacts to
your content server and that you use a folder structure on your content server specifically for asset artifacts so that content is easy to identify and move, if required.
If you choose not to move artifacts stored in MDS, your administrator can use the MDS WLST commands exportMetadata/importMetadata to migrate content to and from MDS.

So there are two option

1) – Upload in WCC (Webcenter content) – You can upload these document in wcc with some marking and use in webcenter portal. You can use images in WCP as by my previous article.
Display UCM files in ADF/Webcenter application as images or link

– I uploaded techartifact logo in wcc

WCCCheckIn

– I created custom template and added image in that. Source of image is like below

#{WCAppContext.applicationURL}/content/conn/ucmserver/uuid/dDocName%3aAPPLOGO1

imgeSource

APPLOGO1 – content id of document. Read my previous article

That’s it. In this way you can use images in template or skin.

2) – Upload manually in MDS using exportMetadata/importMetadata command – These command is very helpful in working metadata in weblogic. Read my previous article

While creating assest for WCP in jdeveloper, if you put images in shared folder and in below structure

jdeveloperStructure

Then you can use importMetadata command to import image in MDS. for exmaple

importMetadata(application=’webcenter’, server=’WC_Spaces’,fromLocation=’/home/oracle/temp’,docs=’/**’)

– /home/oracle/temp= On this location there is same folder structure like ‘oracle\webcenter\siteresources\scopedMD\shared\images’ . inside image folder , you can put your all images.
and run it

Steps

– run wlst.sh or wlst.cmd under webcenter installtion location
– connect(‘weblogic’,’pwd’,’t3://:7001′)
– importMetadata(application=’webcenter’, server=’WC_Spaces’,fromLocation=’/home/oracle/temp’,docs=’/**’)

Note:In this case, image source in jdeveloper will point to oracle\webcenter\siteresources\scopedMD\shared\images folder and so on..

Final output of template is as below

phone template

That’s it.. By this way you can upload your images.

Happy Learning with Vinay in techartifact…..

Creating Data Control & Task flow in Webcenter Portal Builder

Prerequisite – Webcenter portal and Webcenter Spaces should be installed and there schemas as well.

Database should be installed in database. For this sample demo –I created sample tables in Webcenter schema .

You can connect to database using creating new connection

→ Please find attached script and execute in the database.

→ Open the link – http://localhost.silbury:8888/webcenter (Might be localhost for you)

→ Go to Shared Asset

→ Go to Data Control – Create

→ Click continue.

→ Select WebCenterDs – enter password- enter sql query as below in screenshot

→ Click Create.And make available for using in catalog .

→ Now Click on Taskflow -Create

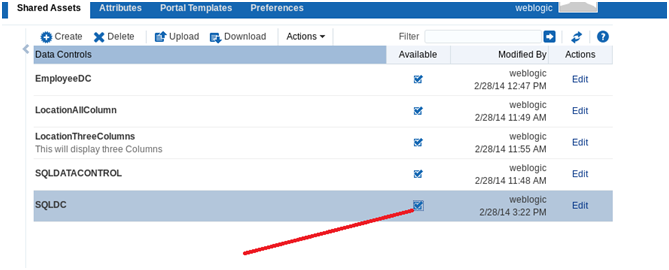
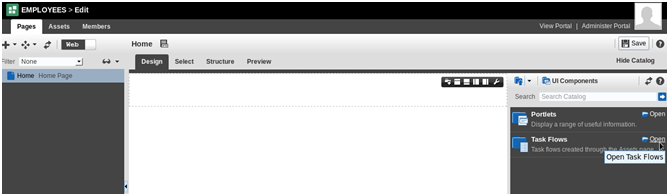
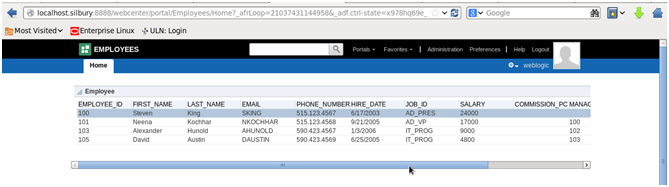
→ Make task flow available
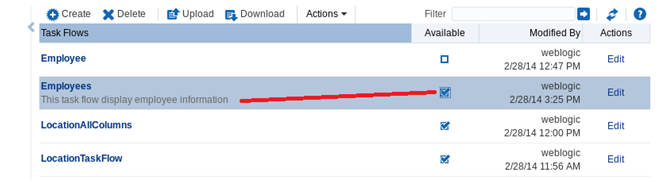
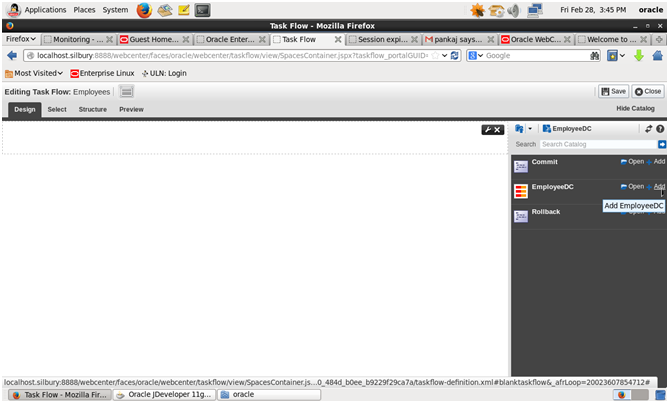
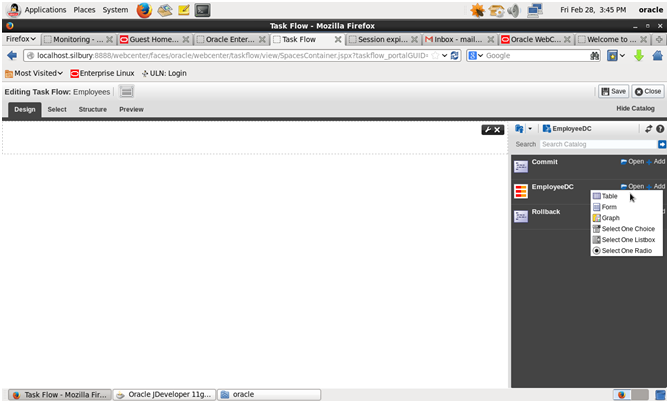
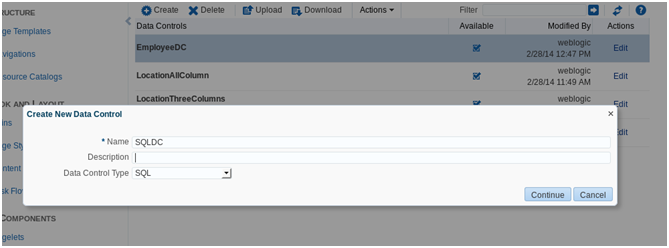
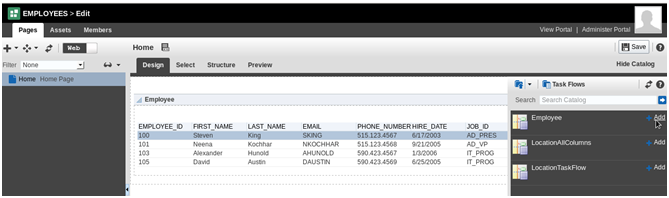
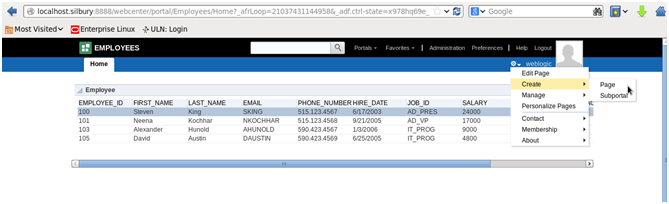
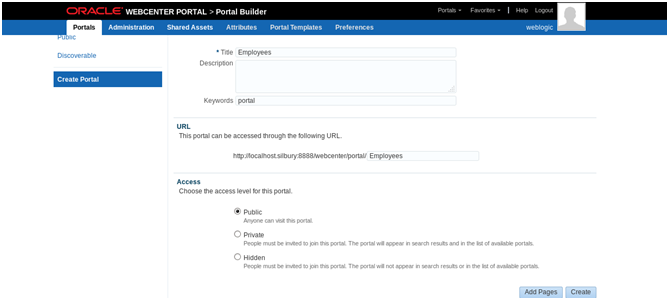
→ Click on Edit and Integration

→ Click open Data Control

→ Click Open EmployeeDC

→ Add Employee DC

→ Click On as Table

→ Click on default next and then create. Table will be there in Taskflow. Click Save then Close.

→. Now click on Portals on top Menu -< Create Portal

->Click Create

→ Click View your portal

→ Edit you page as below to add content

→ Click Open on UI components

→ Click Open On task Flows

→ Add Employees and save.

→ Click Save and then click on View Portal

→ This is final portal

→ Can Create more page like this.

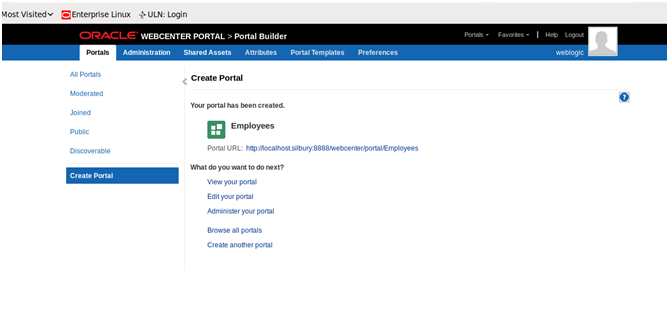
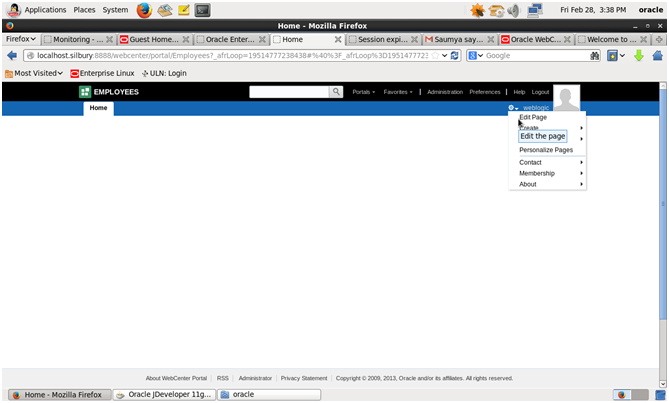
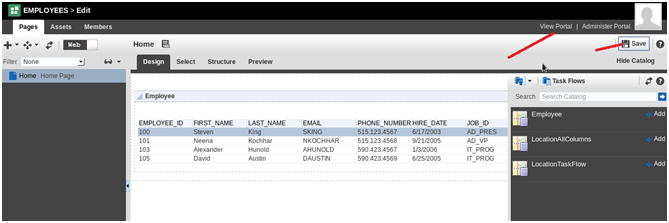
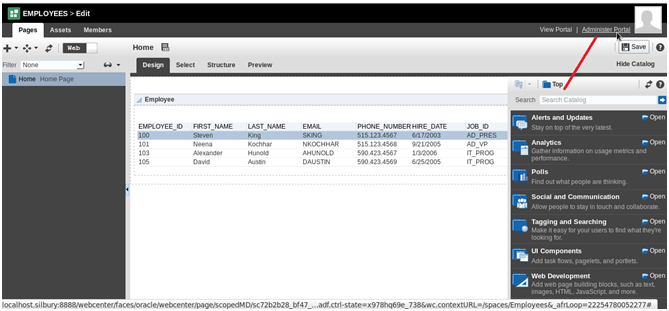
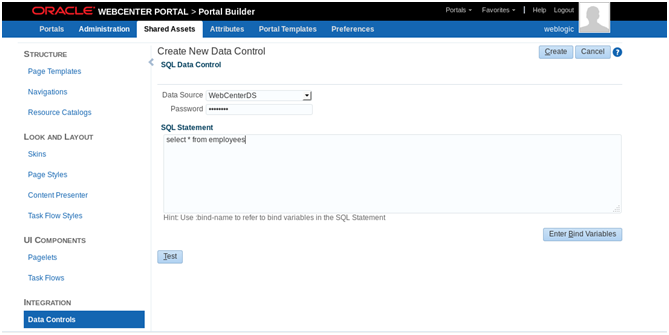
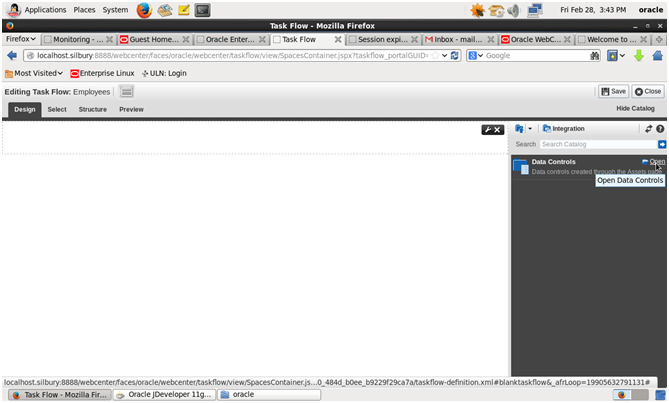
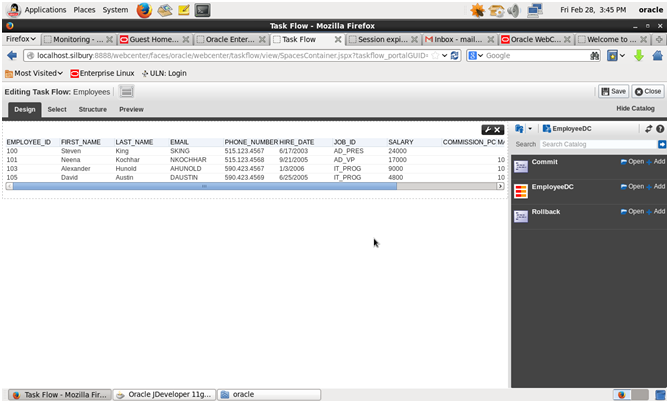
→ If you want to navigate back to Data control or change query or add new task flow -click on edit page then Administer Portal

→ There you can edit data control and task flows.

Watch Video here

Happy learning with Vinay Kumar